KitesurfBase.com | Kite Maintenance & Safety
Hey guys, let’s be honest and I have been there — most Kite surfers treat their gear like a golden retriever treats a tennis ball. Use it hard, love it completely, and inspect it… Basically never. But there’s one small piece of your setup that quietly keeps you alive every session: the lifeline. But How to Change the Lifeline on Your Kite
When it fails — and with enough UV exposure and salt, it will — your kite won’t depower the way it should. That’s the kind of surprise nobody wants 200 meters offshore. The good thing is that changing it is really easy. It only takes 10 minutes to do and it is almost free. Here is how you can change the thing yourself.
Note: This post may contains affiliate links. Full Disclosure.
What Is the Lifeline, Exactly?
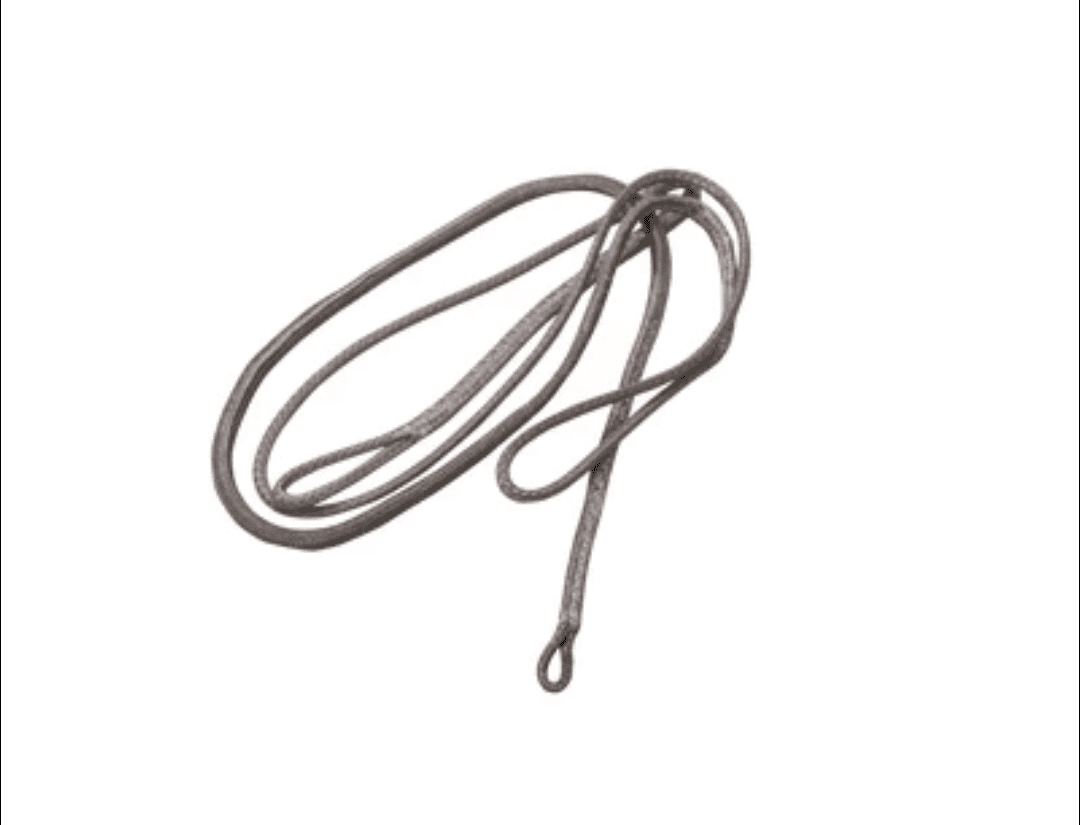
The lifeline — sometimes called the safety line or bridle safety — is a thin cord that runs inside or alongside your front lines. Its job is simple but critical: when you trigger your quick release, it’s the lifeline that keeps a single point of attachment to the kite, allowing it to flag out safely and lose all power.
It takes a beating every time you ride. Sun degrades it, salt stiffens it, and the constant tension wears it thin. Most manufacturers recommend inspecting it every 10-15 hours of riding and replacing it at the first sign of fraying, stiffness, or discoloration.
When and Why Should You Replace It?
Look for these signs before every session:
- Fraying or visible fibre damage anywhere along the cord
- Stiffness — a healthy lifeline should be soft and flexible
- Discoloration or bleaching from UV exposure
- Any sign of a core showing through the sheath
- It’s been more than a season and you honestly can’t remember the last time you changed it
When in doubt, change the Lifeline on Your Kite. A replacement cord costs a few euros. A kite that won’t depower costs a whole lot more.
What You’ll Need
- A new lifeline cord (check your kite brand’s spec — usually 1.5 to 2mm Dyneema or similar)
- Small scissors or a cord cutter
- A lighter (to seal the ends)
- Your kite’s manual or a quick check of the manufacturer’s diagram
- 10 minutes and a flat surface
Quick tip: if you’re not sure which cord to buy, take the old lifeline to a kite shop or measure its diameter. Some brands sell replacement kits — these are worth it because the cord is pre-cut to the right length.
How to Change the Lifeline on your Kite: Step by Step
Step 1 — Lay Your Bar Out Flat
Find a flat surface — like your garden, a beach mat, or even the floor of your garage. This will work perfectly. Lay out your bar and lines so everything is untangled and you can see the full setup clearly. This makes the whole process much easier and lowers the risk of mixing up your Bar and Lines.
Step 2 — Locate the Lifeline
The lifeline runs from the bar, through or alongside the chicken loop, and connects up toward your front lines. On most modern bars it’s clearly visible — a thinner cord, often a different colour to your main lines. If you’re not 100% sure which cord it is, check your bar’s manual before touching anything.
Step 3 — Note How It’s Attached
Before you cut or untie anything, take a photo. Seriously — just pull out your phone and photograph both ends of the lifeline and how it connects. This is your reference when you fit the new one. Attachment methods vary by brand: some use a simple overhand loop, some use a specific knot, and some clip or splice.
Step 4 — Remove the Old Lifeline
Carefully undo or cut the old lifeline at both ends. If it’s knotted, untie it rather than cutting where possible — this lets you use it as a length reference for your new cord. Once it’s free, set it aside but don’t throw it away yet.
Step 5 — Cut and Seal Your New Cord
Use your old lifeline as a template to cut the new cord to the exact same length. Once cut, run a lighter briefly over both ends of the new cord to melt and seal the fibres. This stops fraying from day one and adds a bit of stiffness to make threading easier. Hold the flame close but don’t touch — just a quick pass is enough.
Step 6 — Attach the New Lifeline
Using your photo as a guide, attach the new cord in exactly the same way as the old one. If it uses a loop-and-lark’s head knot, make sure the loop is the same size. If your bar uses a specific manufacturer knot, follow the diagram from your manual carefully. Tension matters — too loose and it won’t function correctly under load.
Step 7 — Test Before You Hit the Water to ride safer
This step is non-negotiable. With the kite on the ground and a friend holding it, trigger your quick release and check that the kite flags out properly on the lifeline alone. If it doesn’t flag out fully or the kite still has power, something isn’t right — stop and recheck before you ride. Also, check if your bar is tuned.
Common Mistakes to Avoid
- Using the wrong cord — lifelines need to be low-stretch. Don’t substitute with random string or sailing line.
- Getting the length wrong — too short and your safety system won’t work; too long and there’s unwanted slack.
- Skipping the ground test — always test the depower function before going near the water.
- Forgetting to check the rest of the bar while you’re at it — inspect your chicken loop, stopper, and line connections too.
How Often Should You Do This?
A good rule of thumb: inspect your lifeline every 10 to 15 hours of riding, and replace it at least once a season even if it looks fine. If you ride in particularly strong UV environments — think tropical trips, high-altitude lakes — shorten that interval. The cord degrades faster than you think, and the consequences of a failed safety system are not worth the risk.
Final Thought
Guys, you all agree Kitesurfing is the most incredible sport on the planet, and most of the time the gear takes care of you without a second thought. But that relationship only works if you return the favour. A good lifeline is one of the smallest, cheapest, and most important things you can do for your safety on the water. Add it to your pre-season checklist, and don’t skip the ground test. Ever.
More at the Mechanic’s Workshop.
Ride safe. See you out there.
I’ve been riding since 2009 — mostly Red Sea and Mediterranean, a season in Tarifa, a few trips to Brazil. I started this site because the maintenance advice online was either vague or wrong, and I got tired of watching riders show up with gear that should have been retired two seasons ago. I fix what other people ignore.